
Sharing and Collaboration Workflows
Now that you've mastered file organisation, it's time to leverage these systems for effective sharing and collaboration. This page shows you how to create secure, organised workflows that make working with team members and clients seamless.
Understanding NextCloud Sharing Options
NextCloud v31 offers several sharing methods, each suited for different collaboration needs:
Internal Sharing: Share with other Junovy Cloud Storage users Link Sharing: Create shareable links for external access Email Sharing: Send files directly via email Group Sharing: Share with predefined user groups Federated Sharing: Share with users on other NextCloud instances
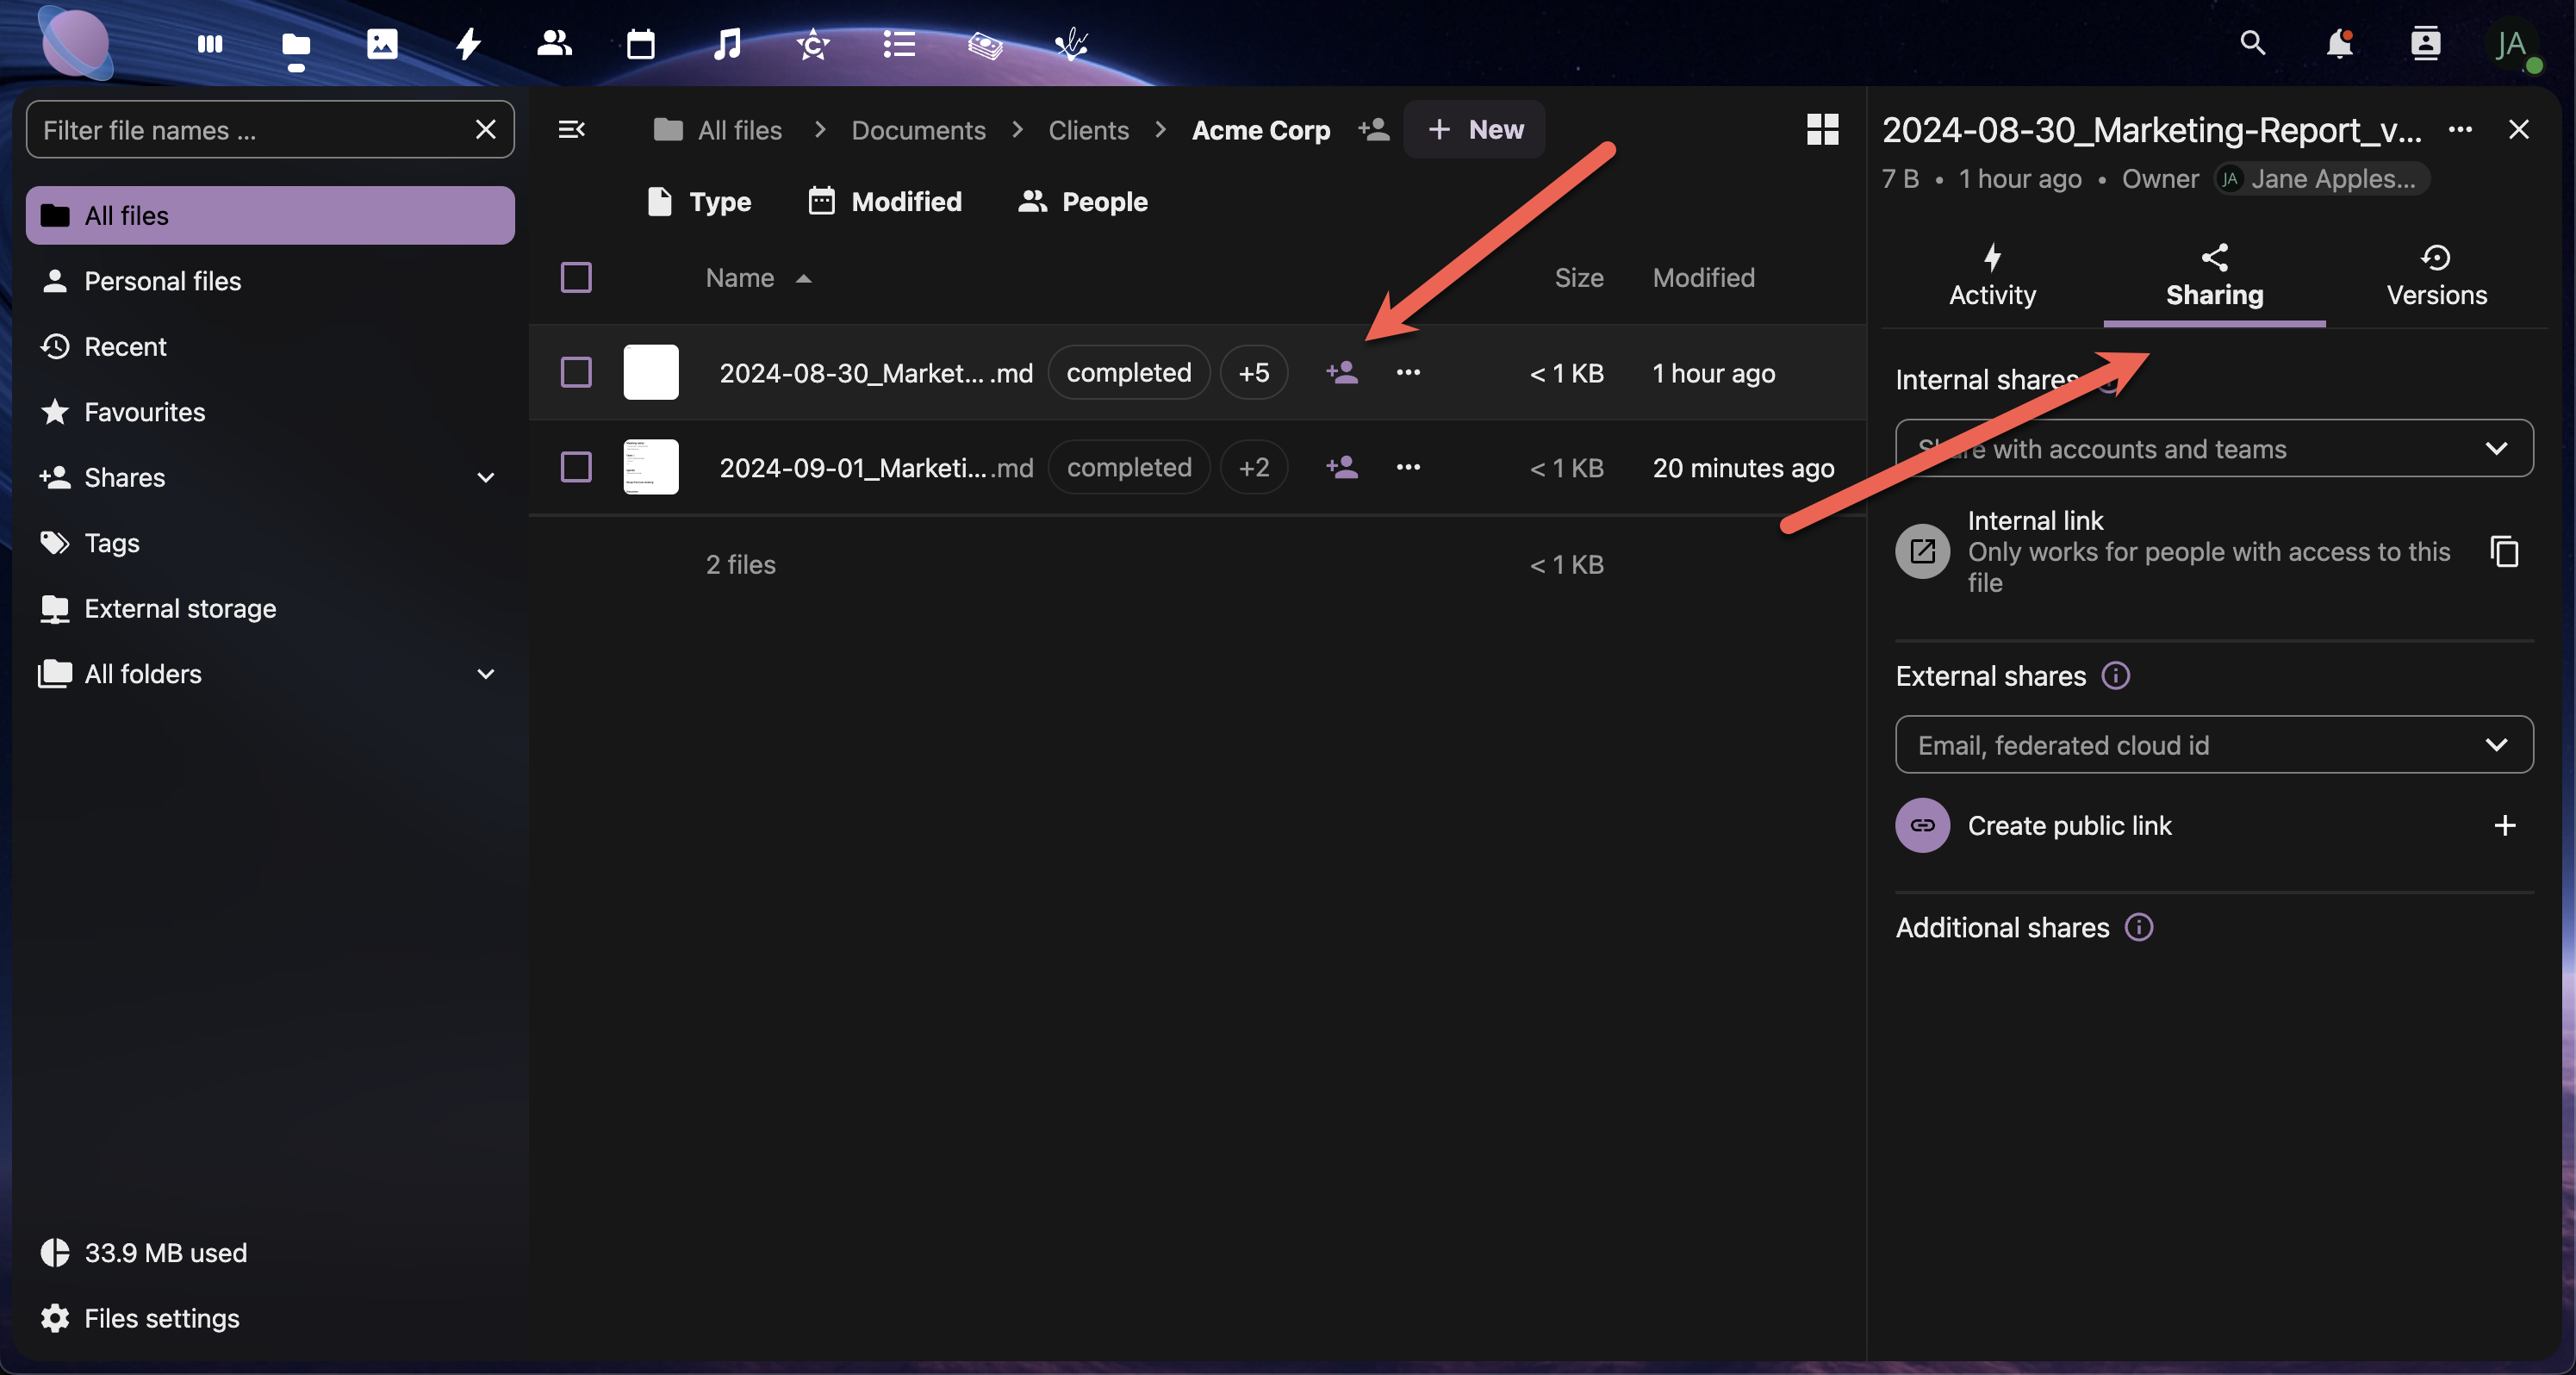
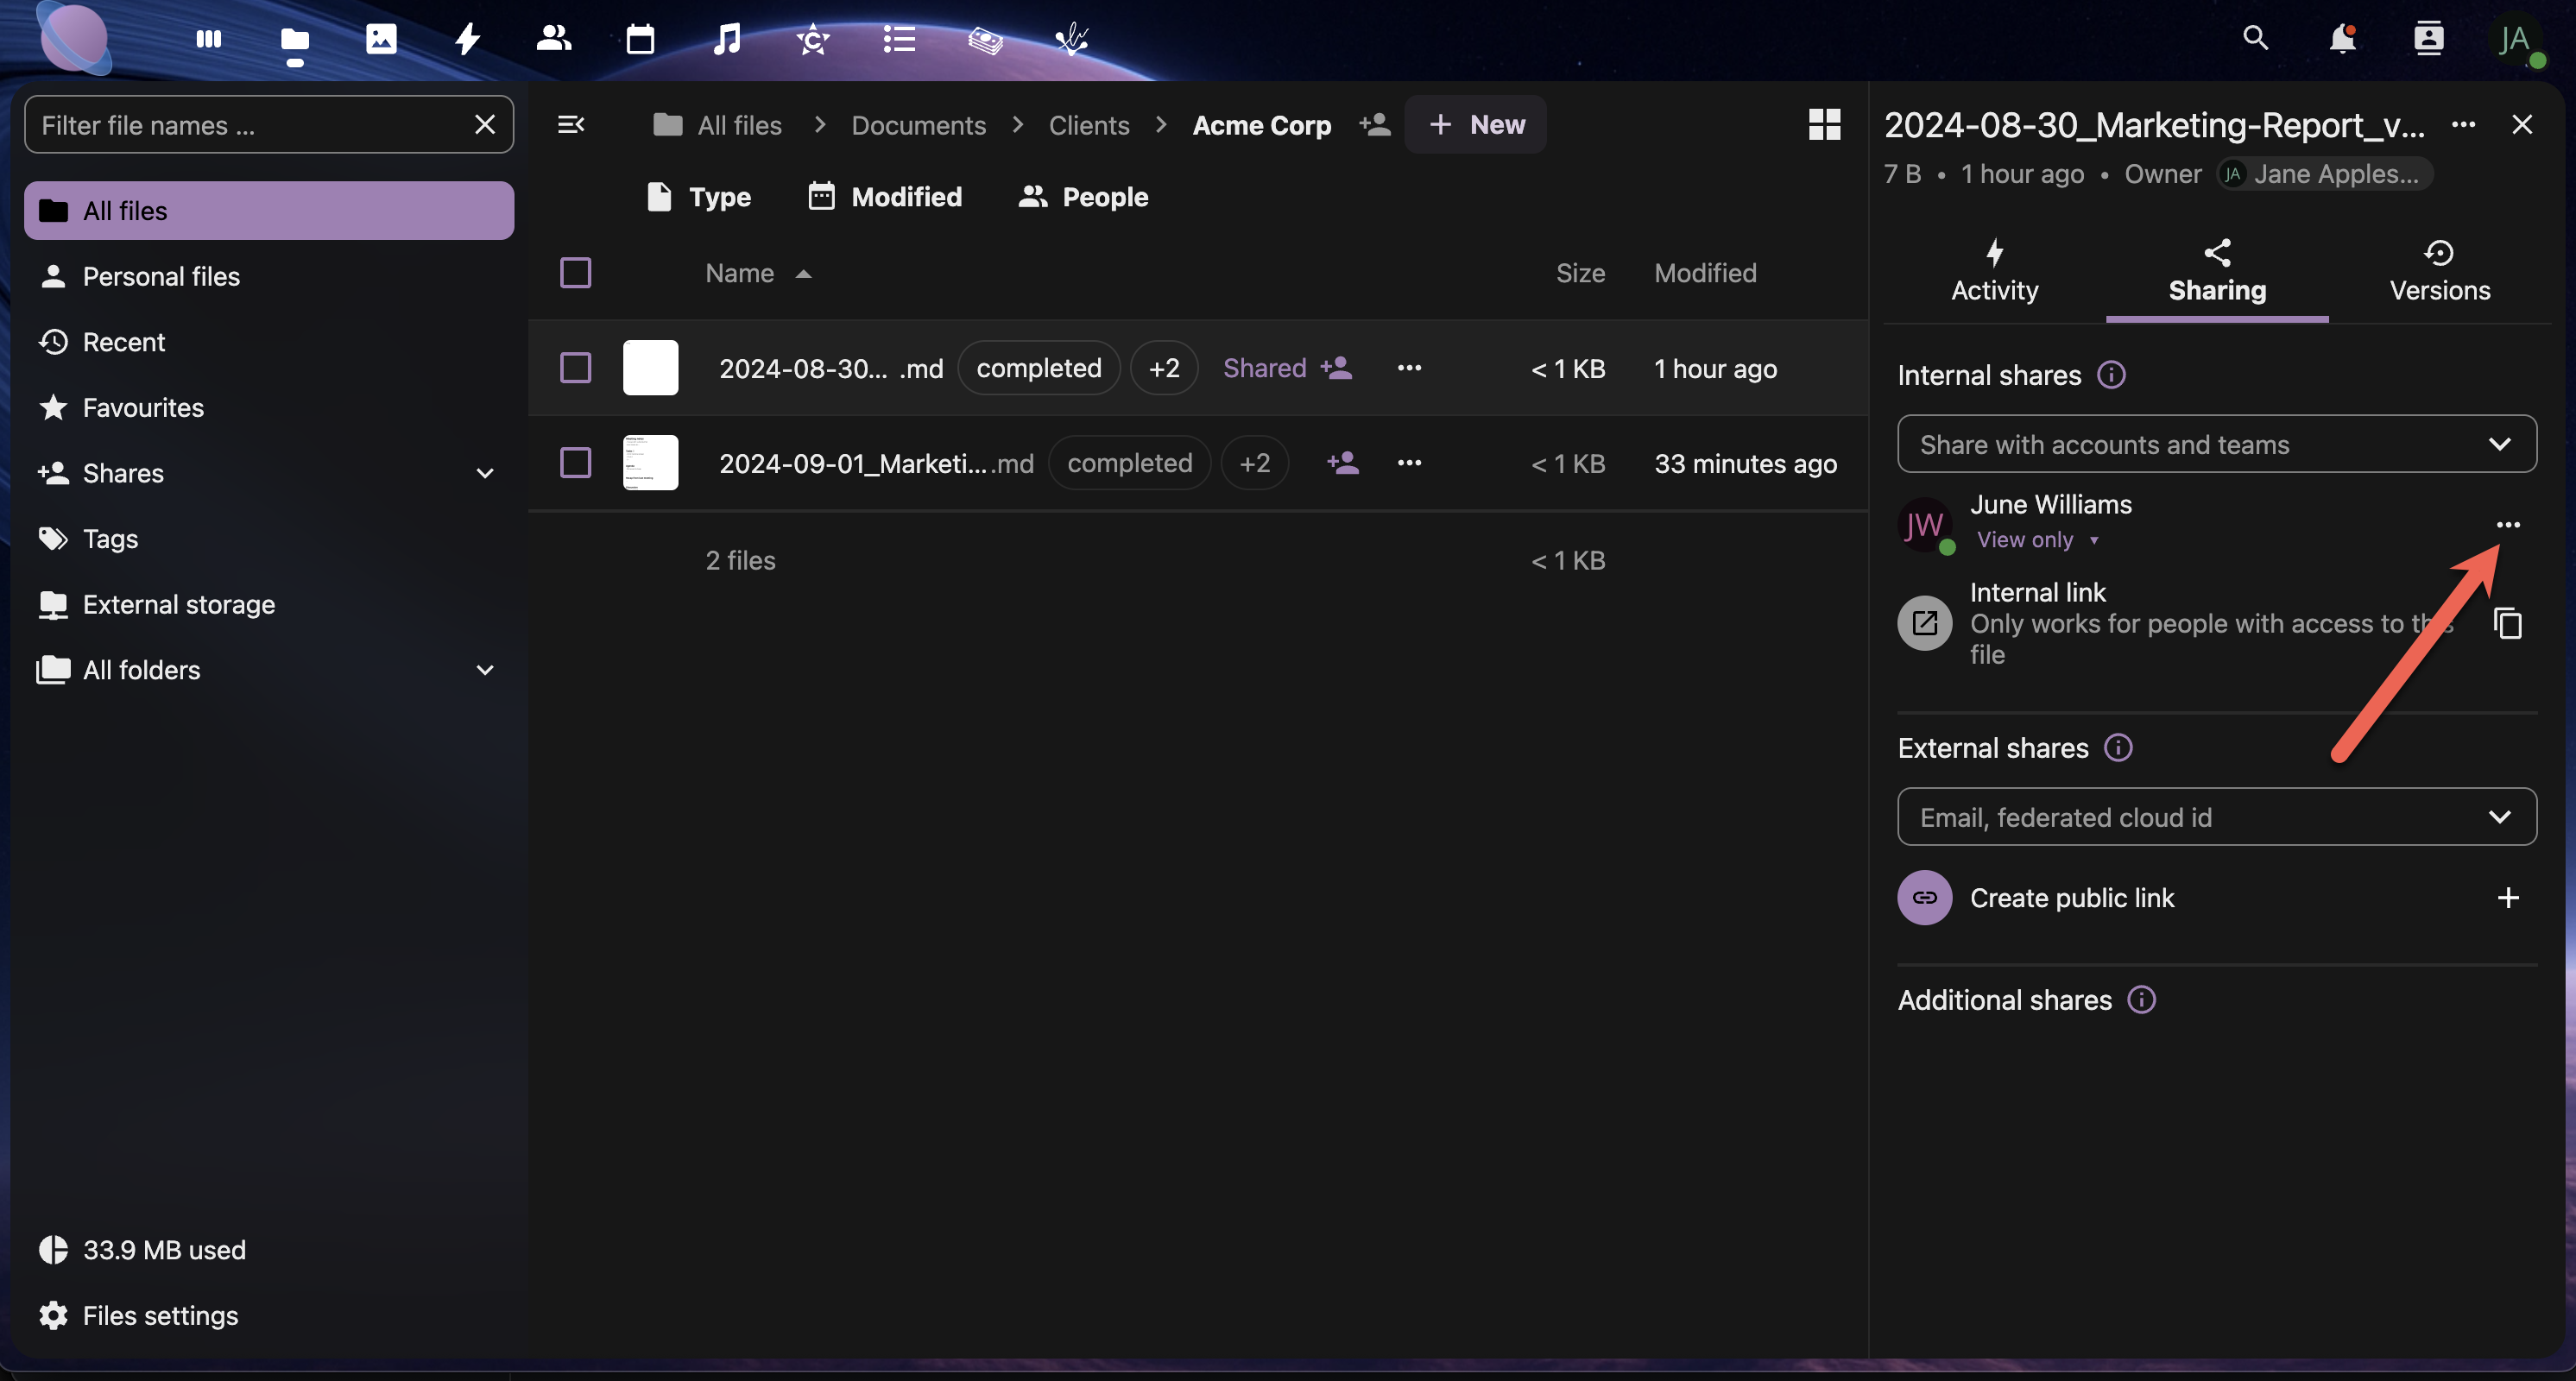
Clicking the Sharing Options icon, the Sharing menu will open.
Step 1: Set Up Your Collaboration Folders
Create dedicated spaces for different types of collaboration:
Recommended Folder Structure:
02 - Shared Projects/
├── Client-Collaboration/
│   ├── ACME-Website/
│   ├── Johnson-Co-Branding/
│   └── Templates-for-Clients/
├── Team-Workspaces/
│   ├── Marketing-Team/
│   ├── Development-Team/
│   └── Management-Reports/
└── External-Partners/
    ├── Freelancer-Handoffs/
    └── Vendor-Resources/
- Create your collaboration folder structure
- Apply consistent tagging to shared folders
- Set clear naming conventions for shared content
- Document permissions for each collaboration space
Step 2: Internal Team Sharing
Sharing with Individual Users:
- Right-click the file or folder you want to share
- Select "Share" from the context menu
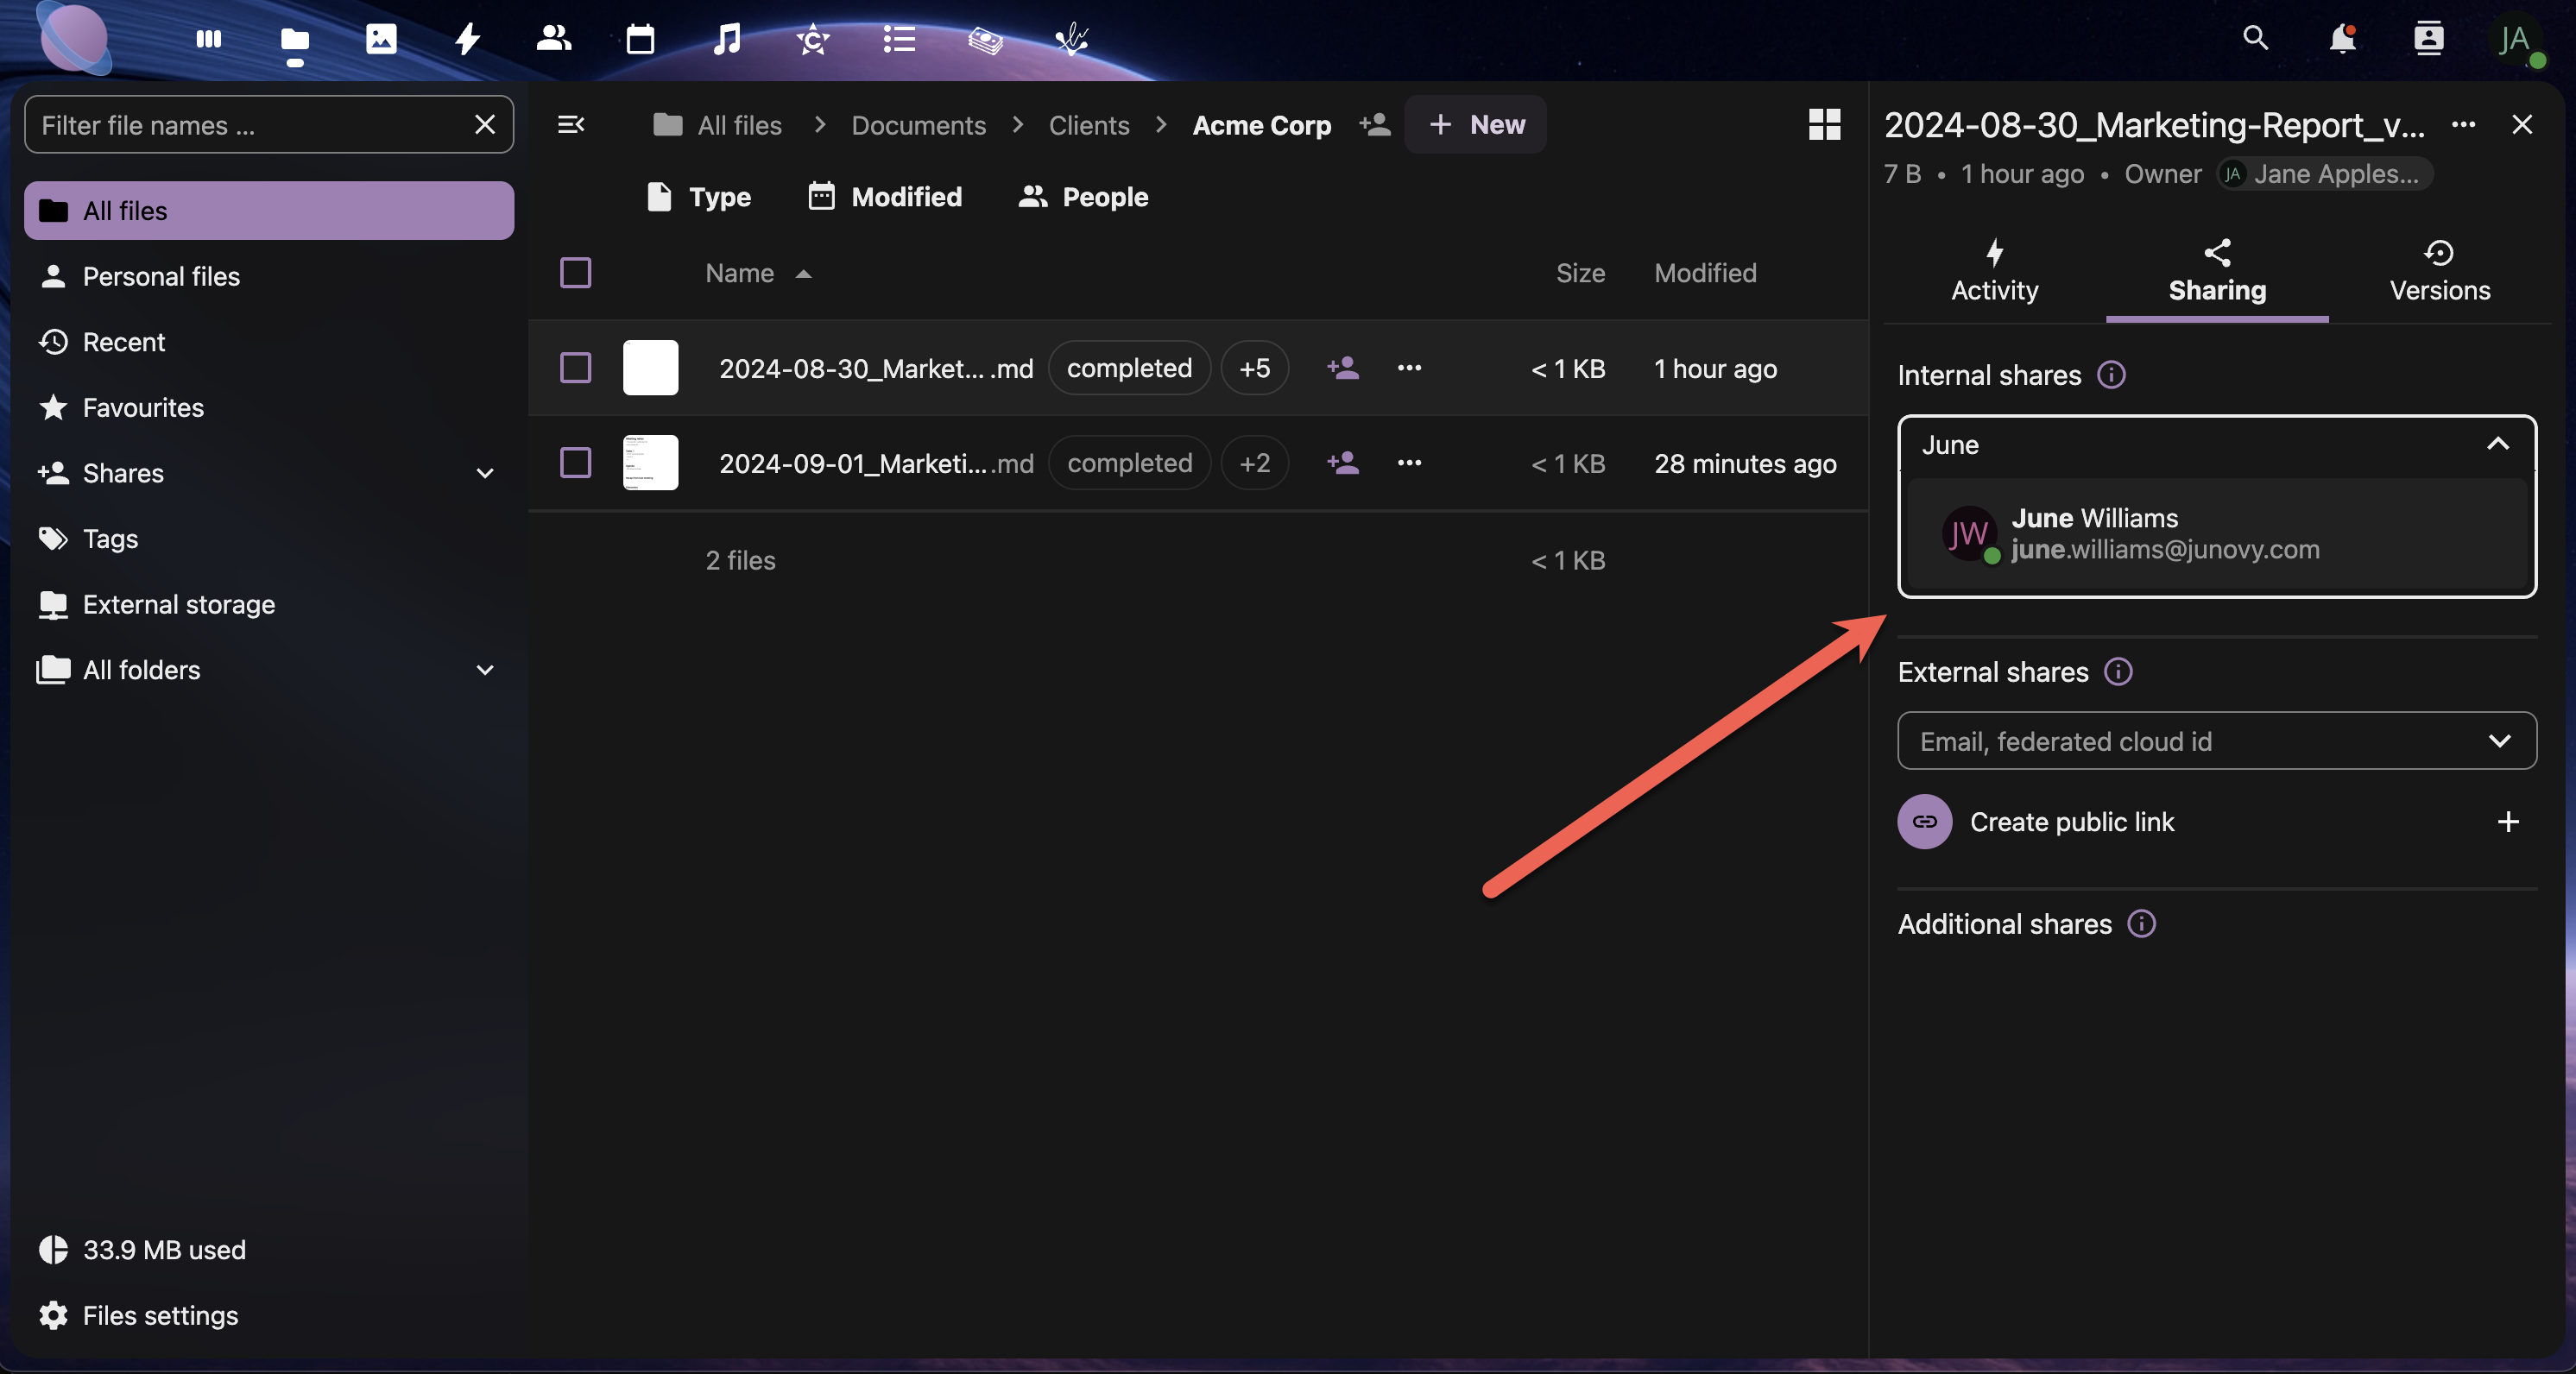
- In the "Share with users" field, start typing a colleague's name
- Select their name from the dropdown
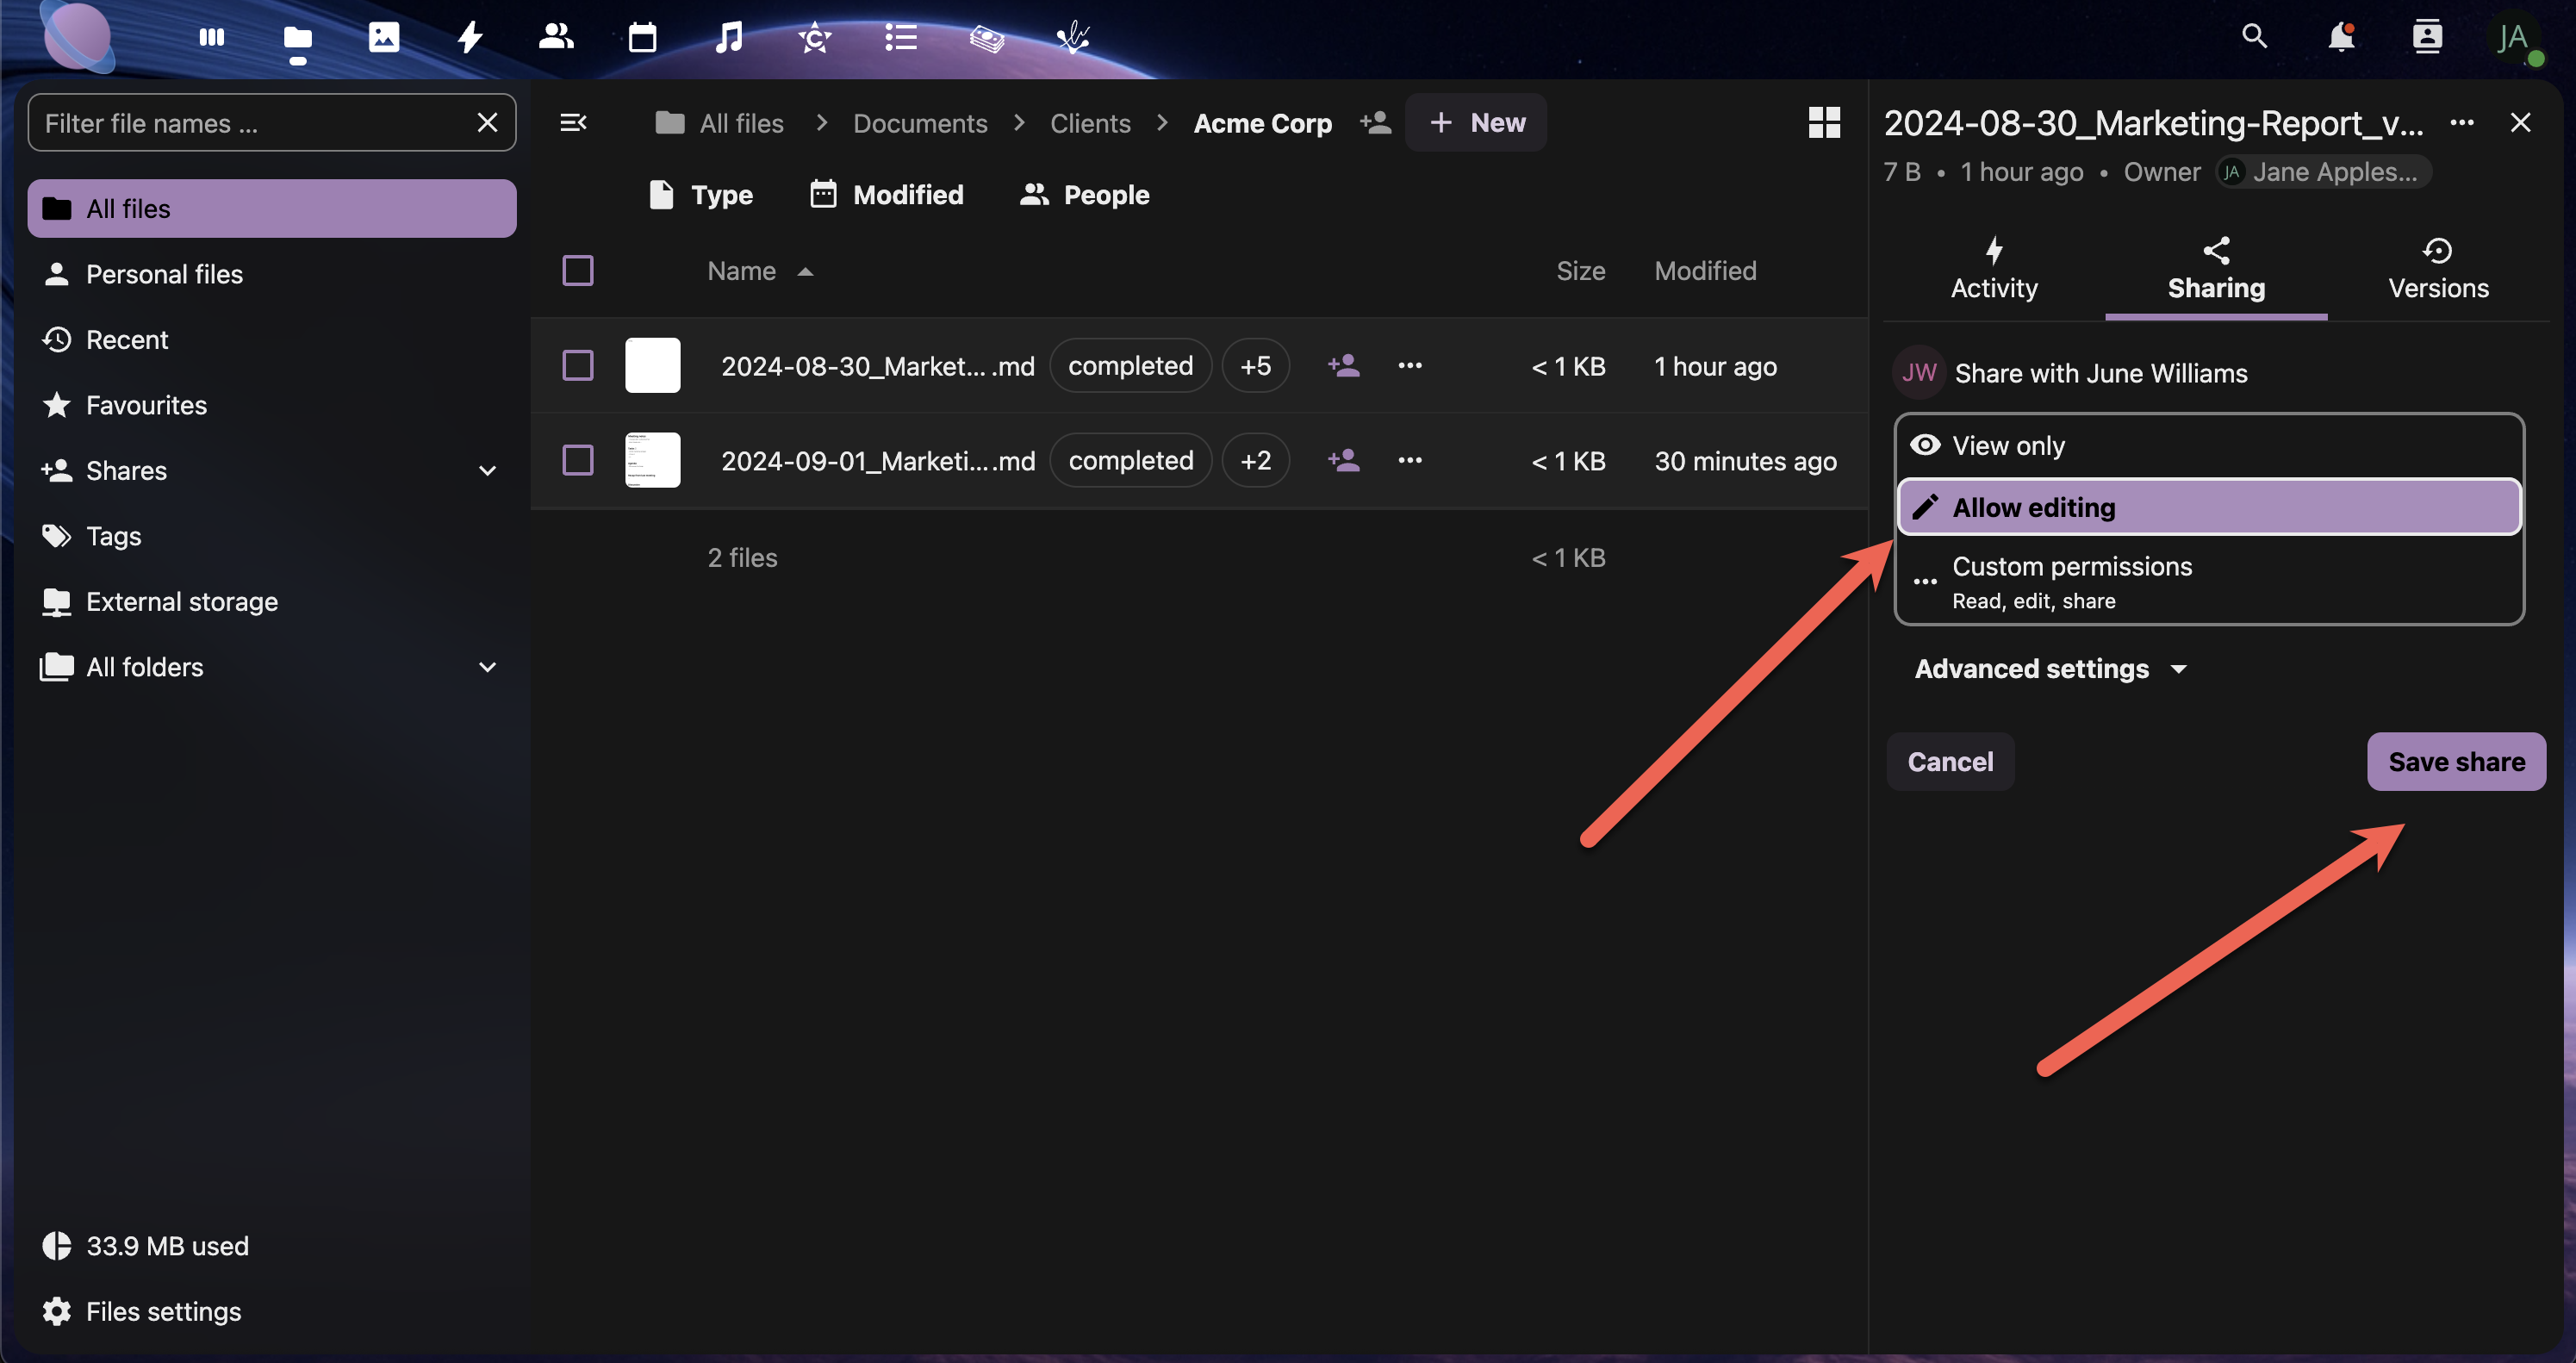
- Choose permissions:
- View only - Can see and download
- Allow editing - Can modify files
- Custom permissions - Can share with others and change permissions
- Click "Share"
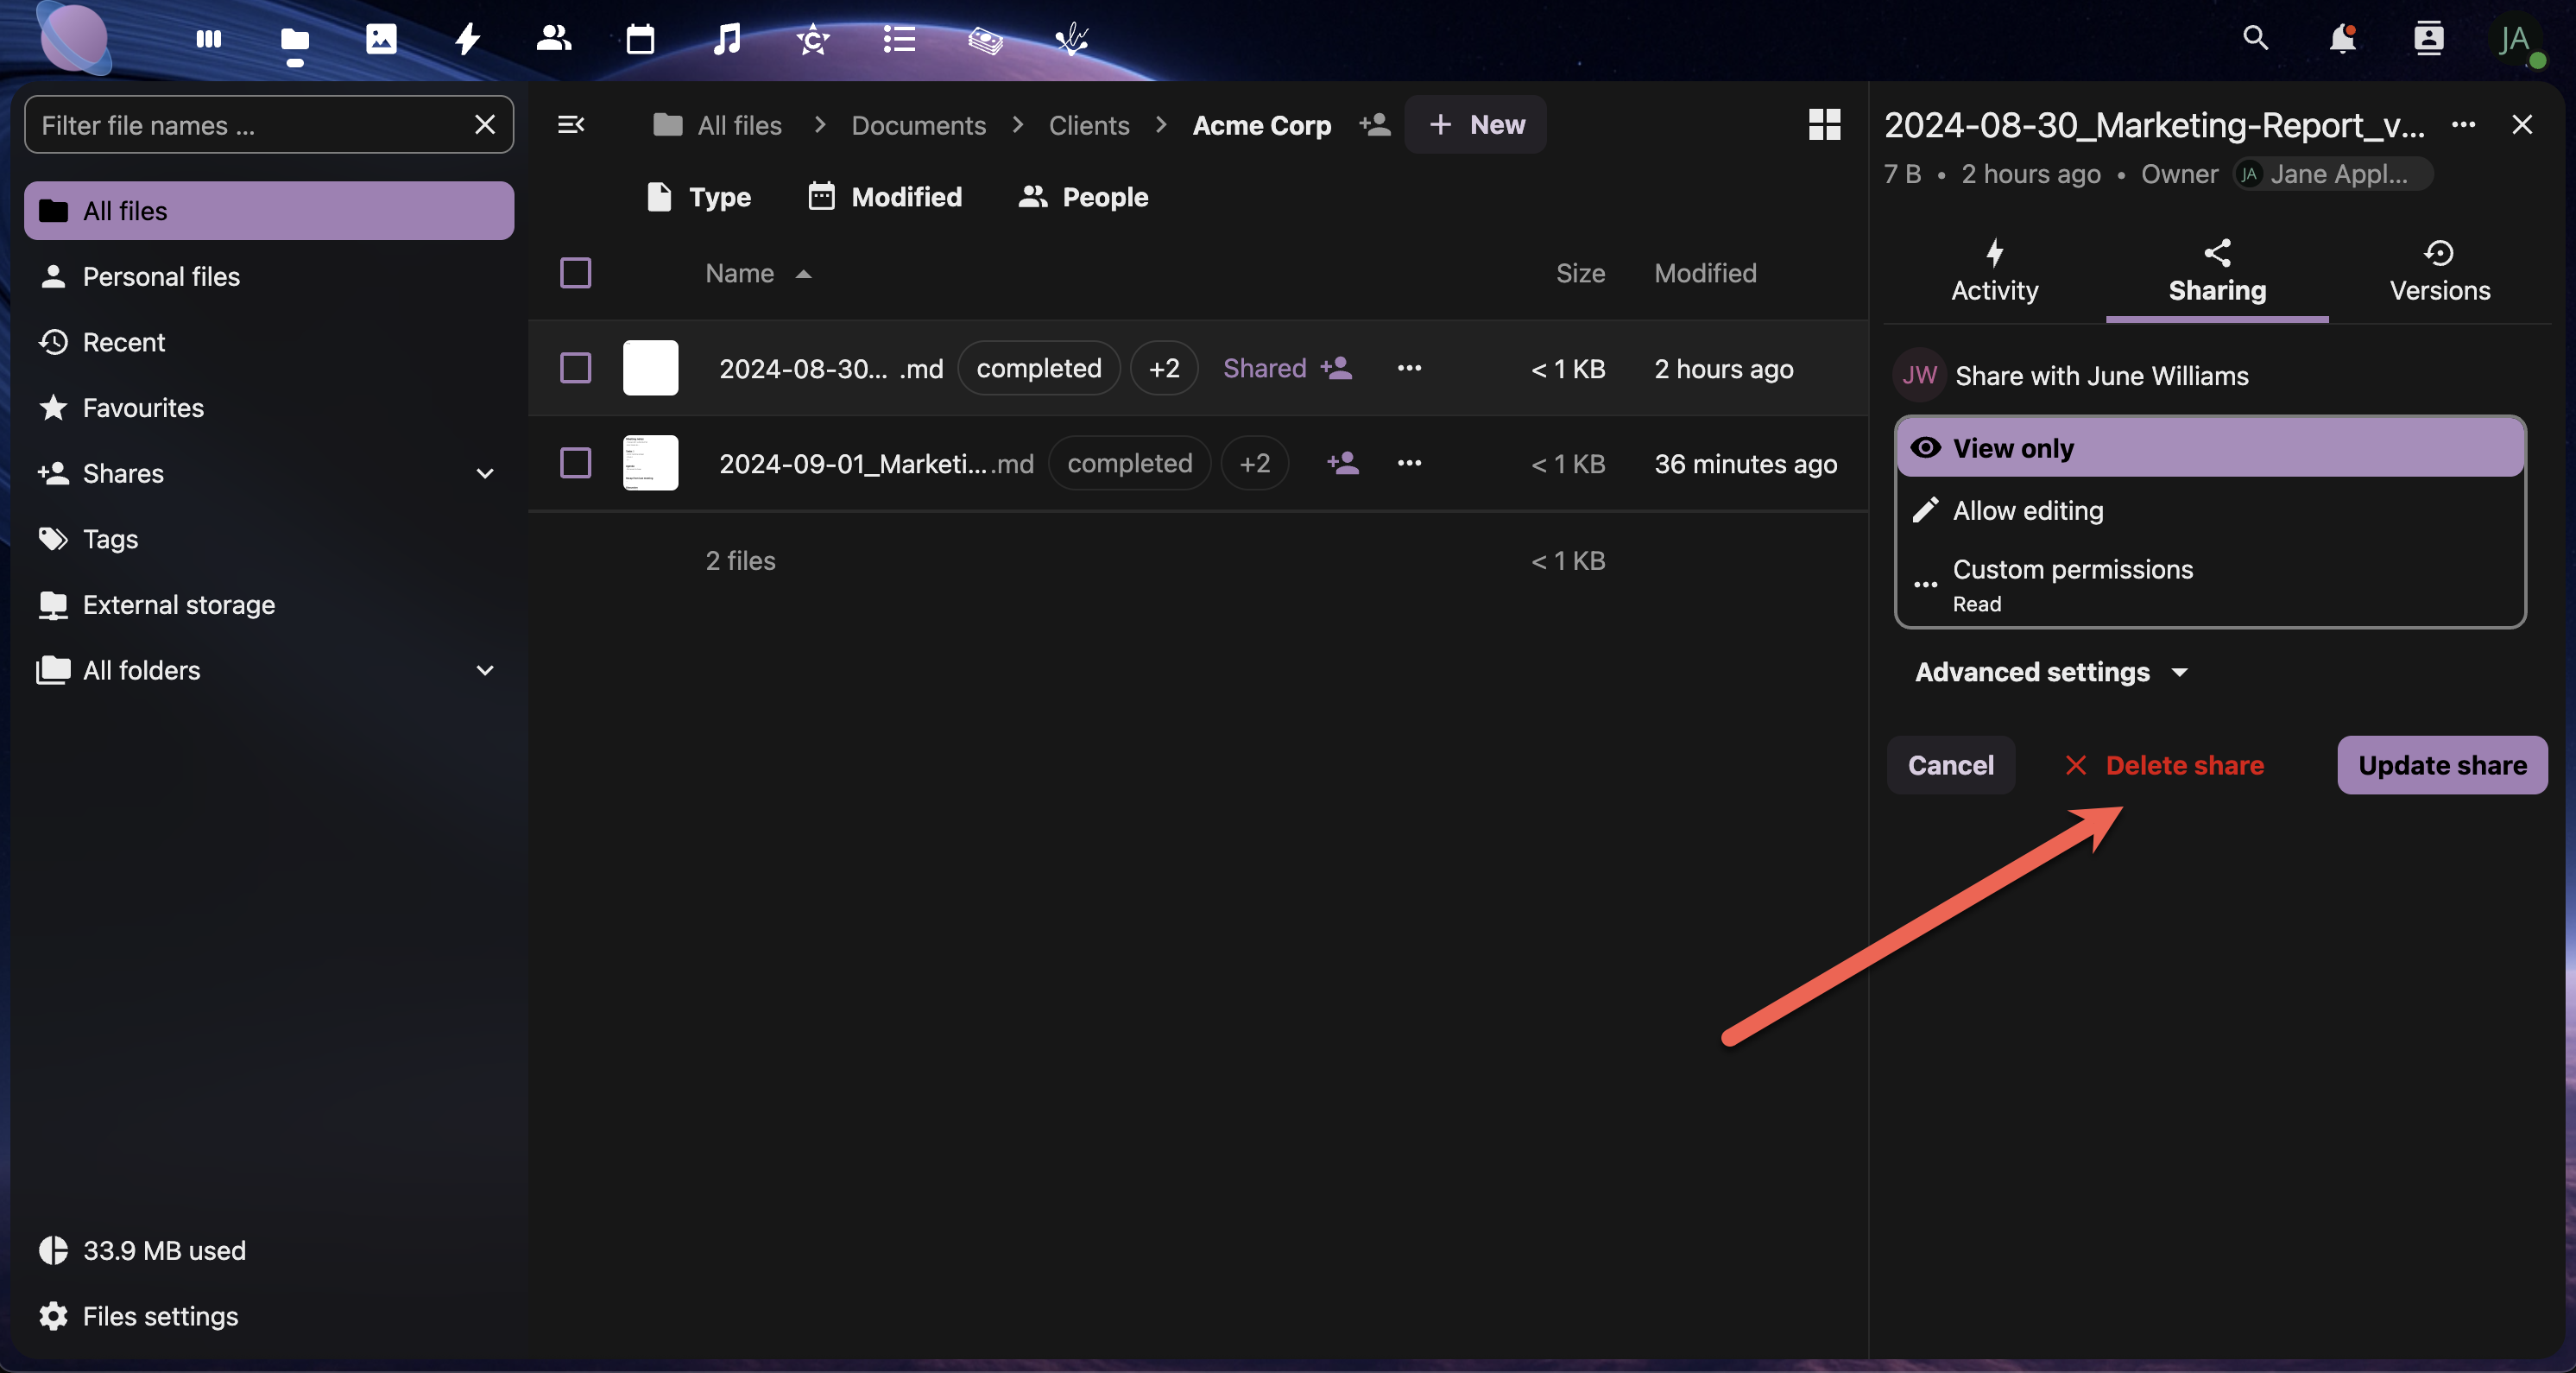
Once the user is selected, choose between View only, Allow editing, or Custom Permissions. Then click Save share.
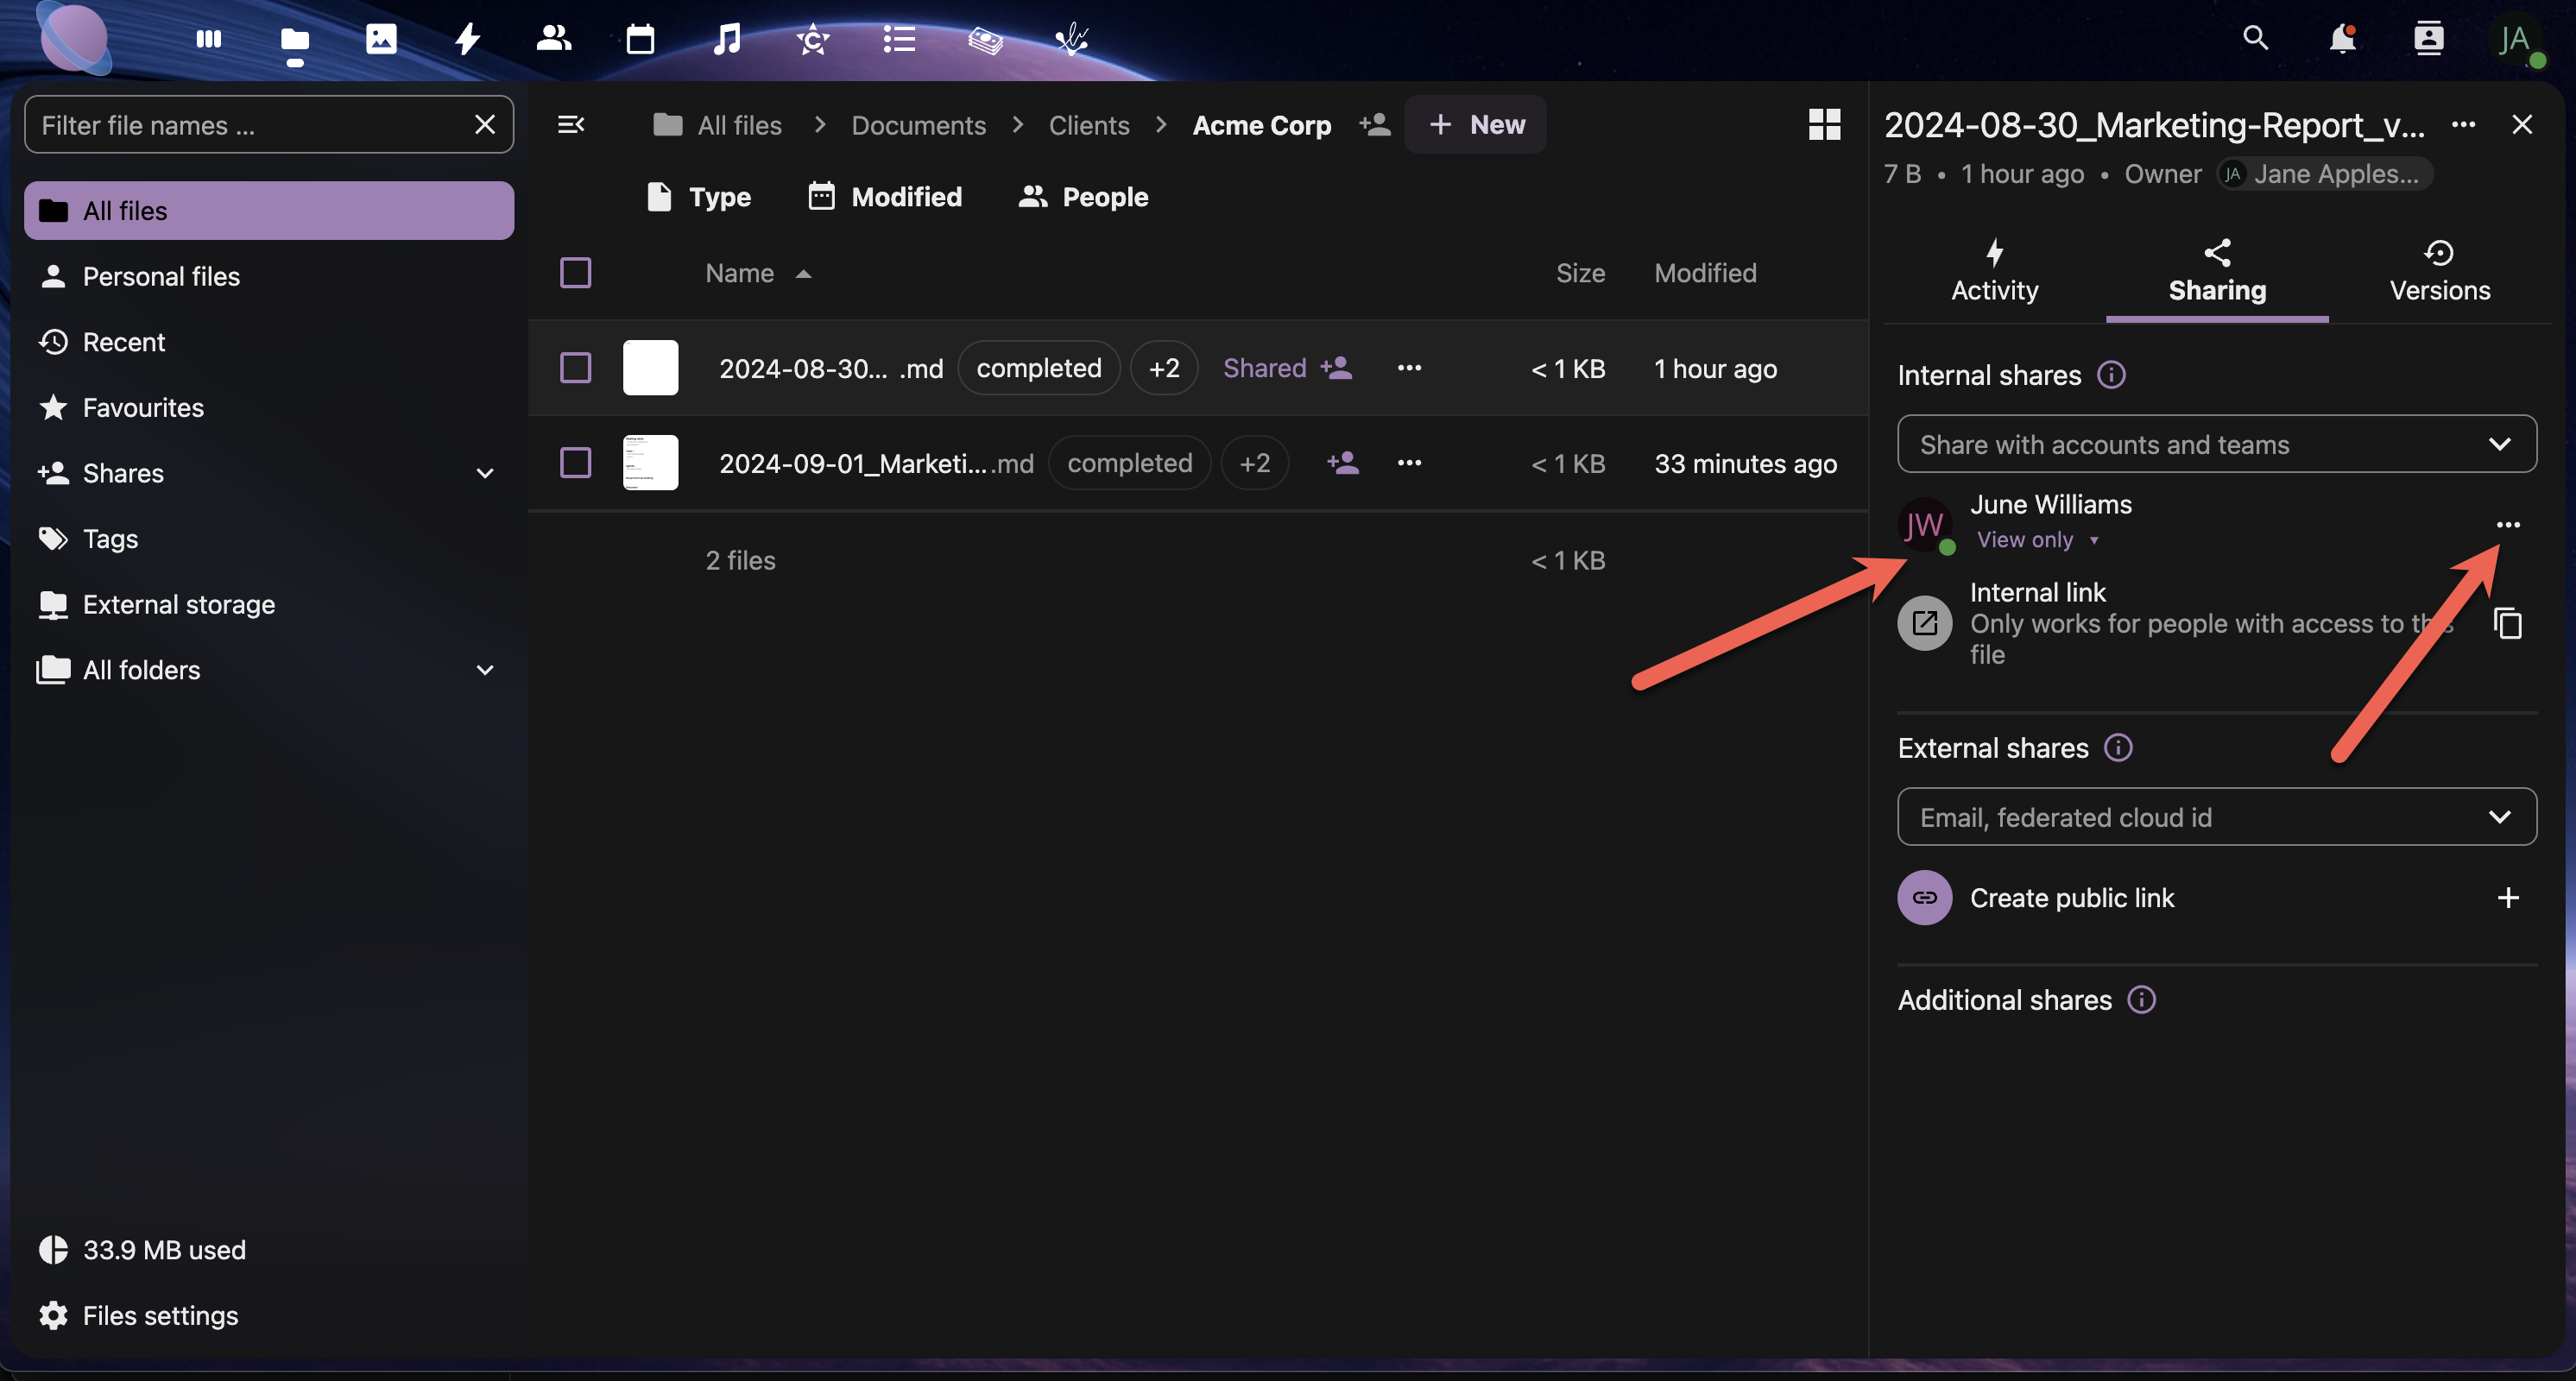

Removing A Share
This will open up the Sharing panel. Click the Delete share button to remove the share.
Step 3: Client Collaboration Workflows
Create secure, professional workflows for external client collaboration:
Option A: Secure Public Link Sharing
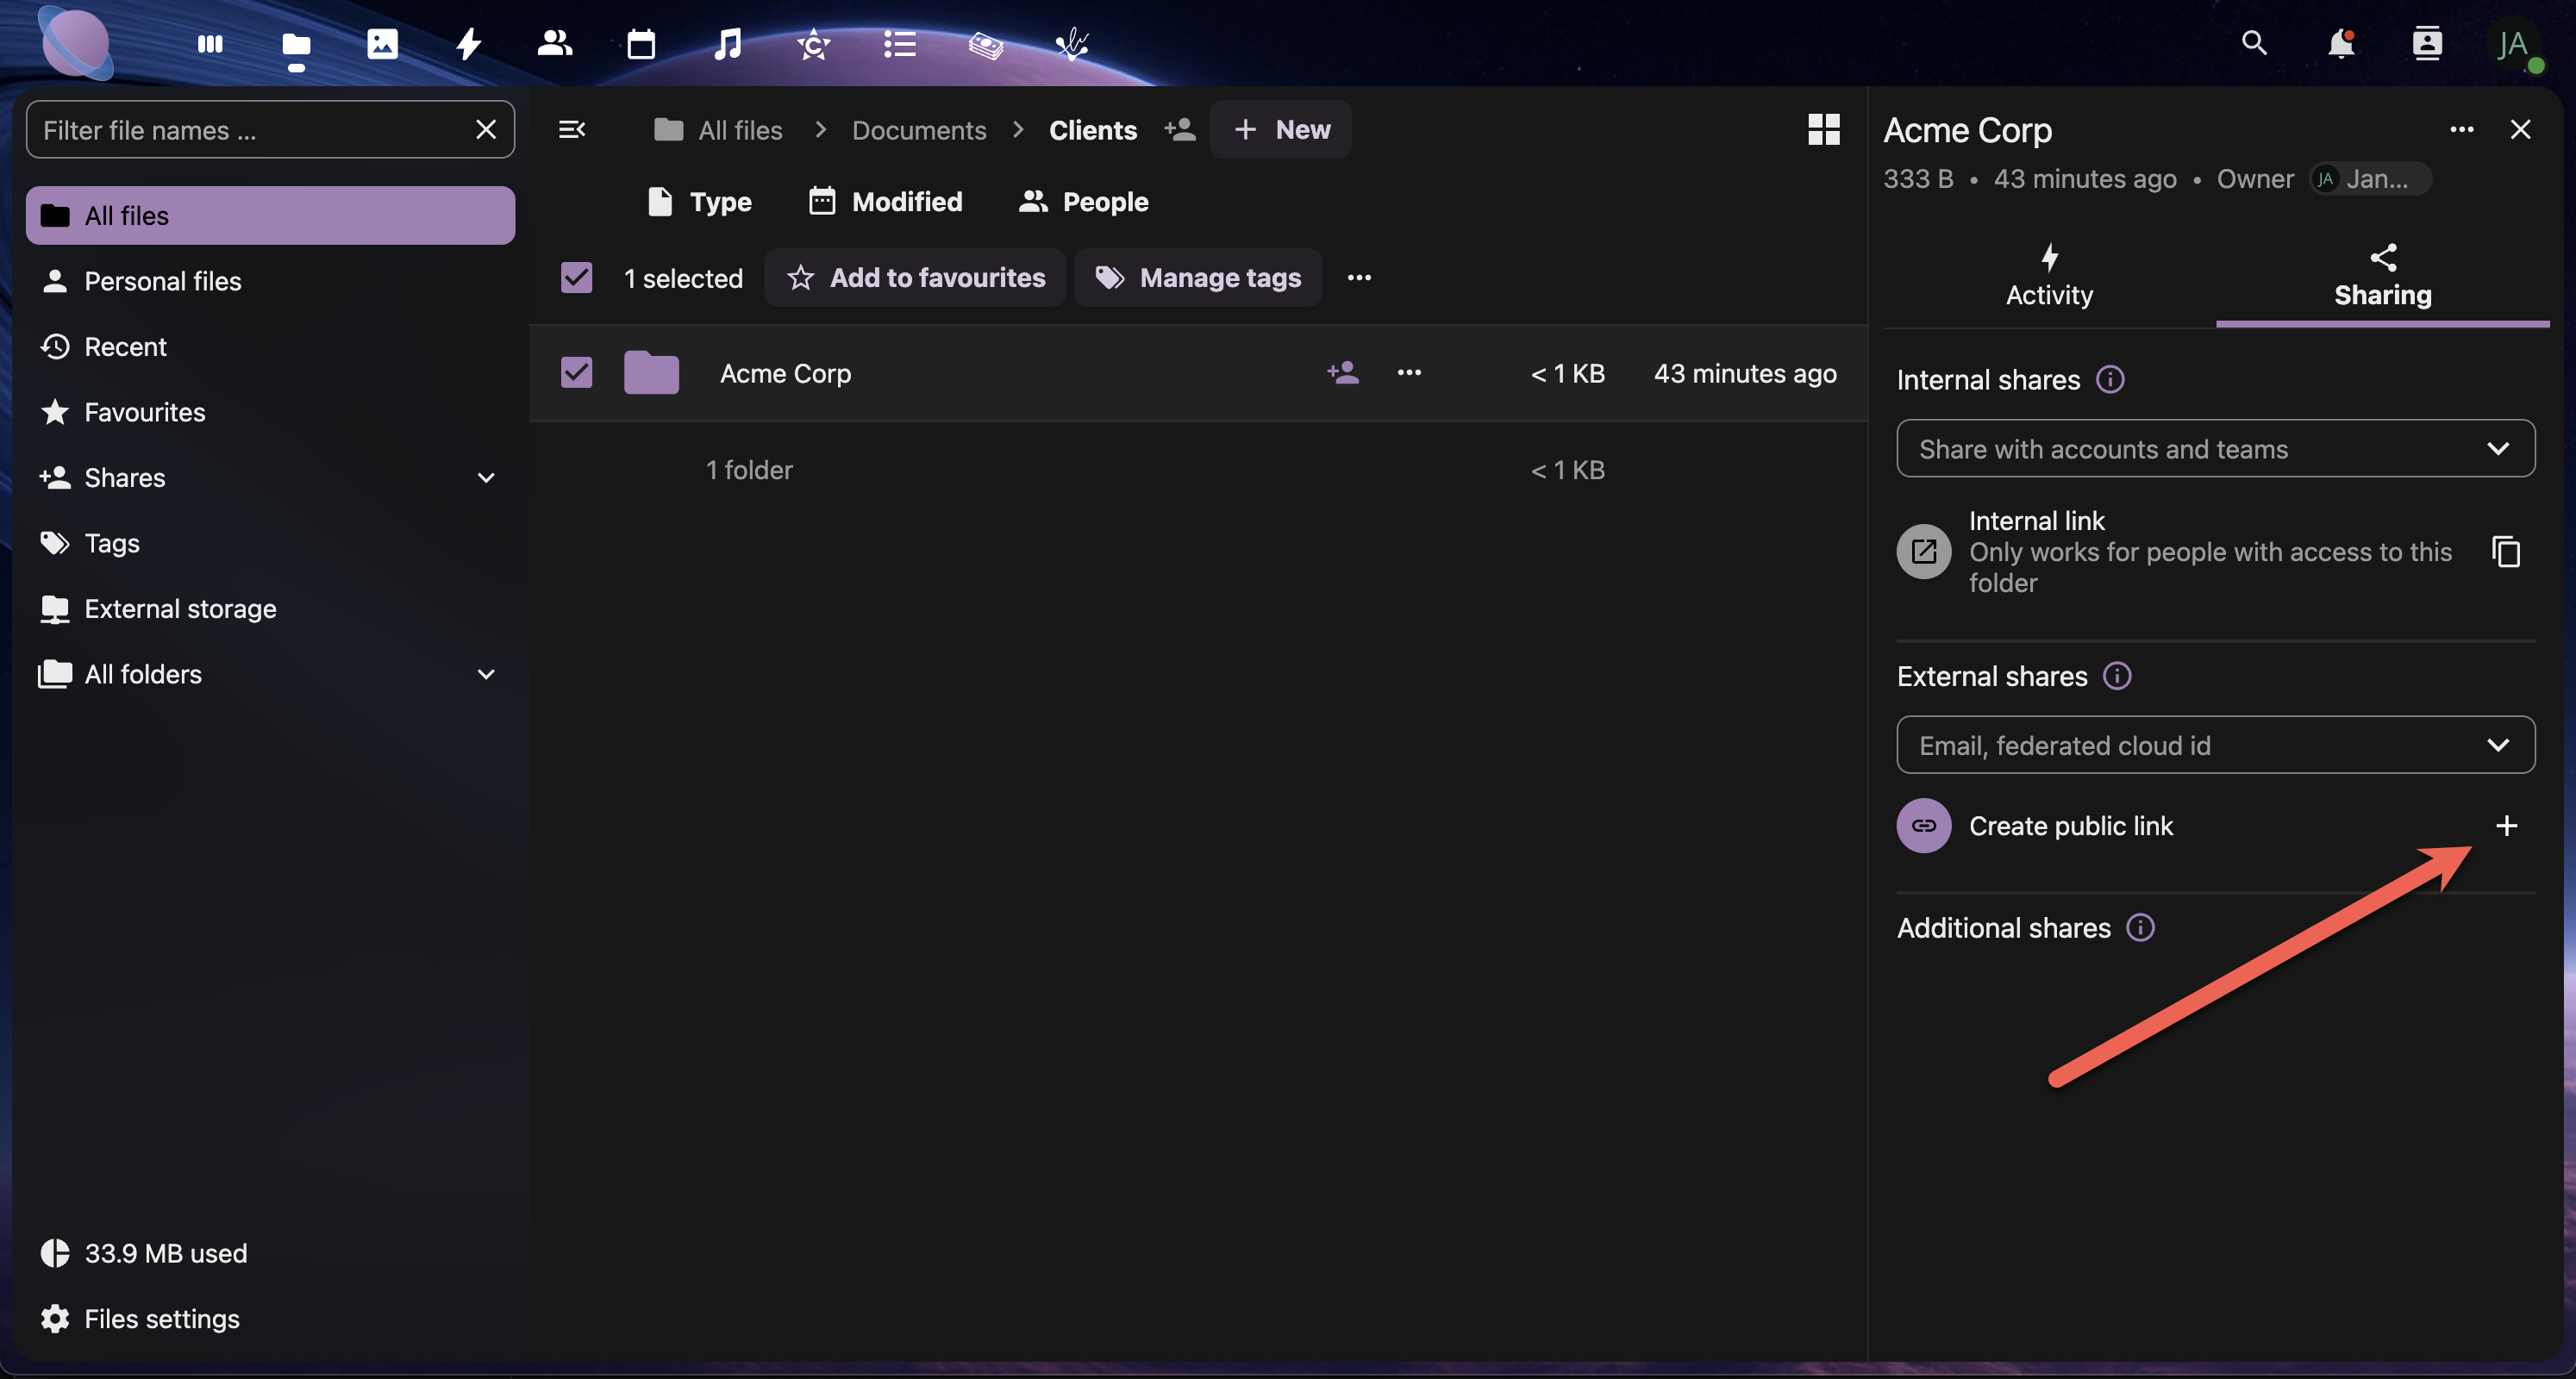
- Select the folder you wish to share.
- Select "Sharing" → "Create Public Link"
- Configure link settings:
- Password protection (recommended for clients)
- Expiration date (set project timeline)
- Permission level (usually "View and download")
- Allow upload (if clients need to provide files)
- Copy the link and send it securely to your client
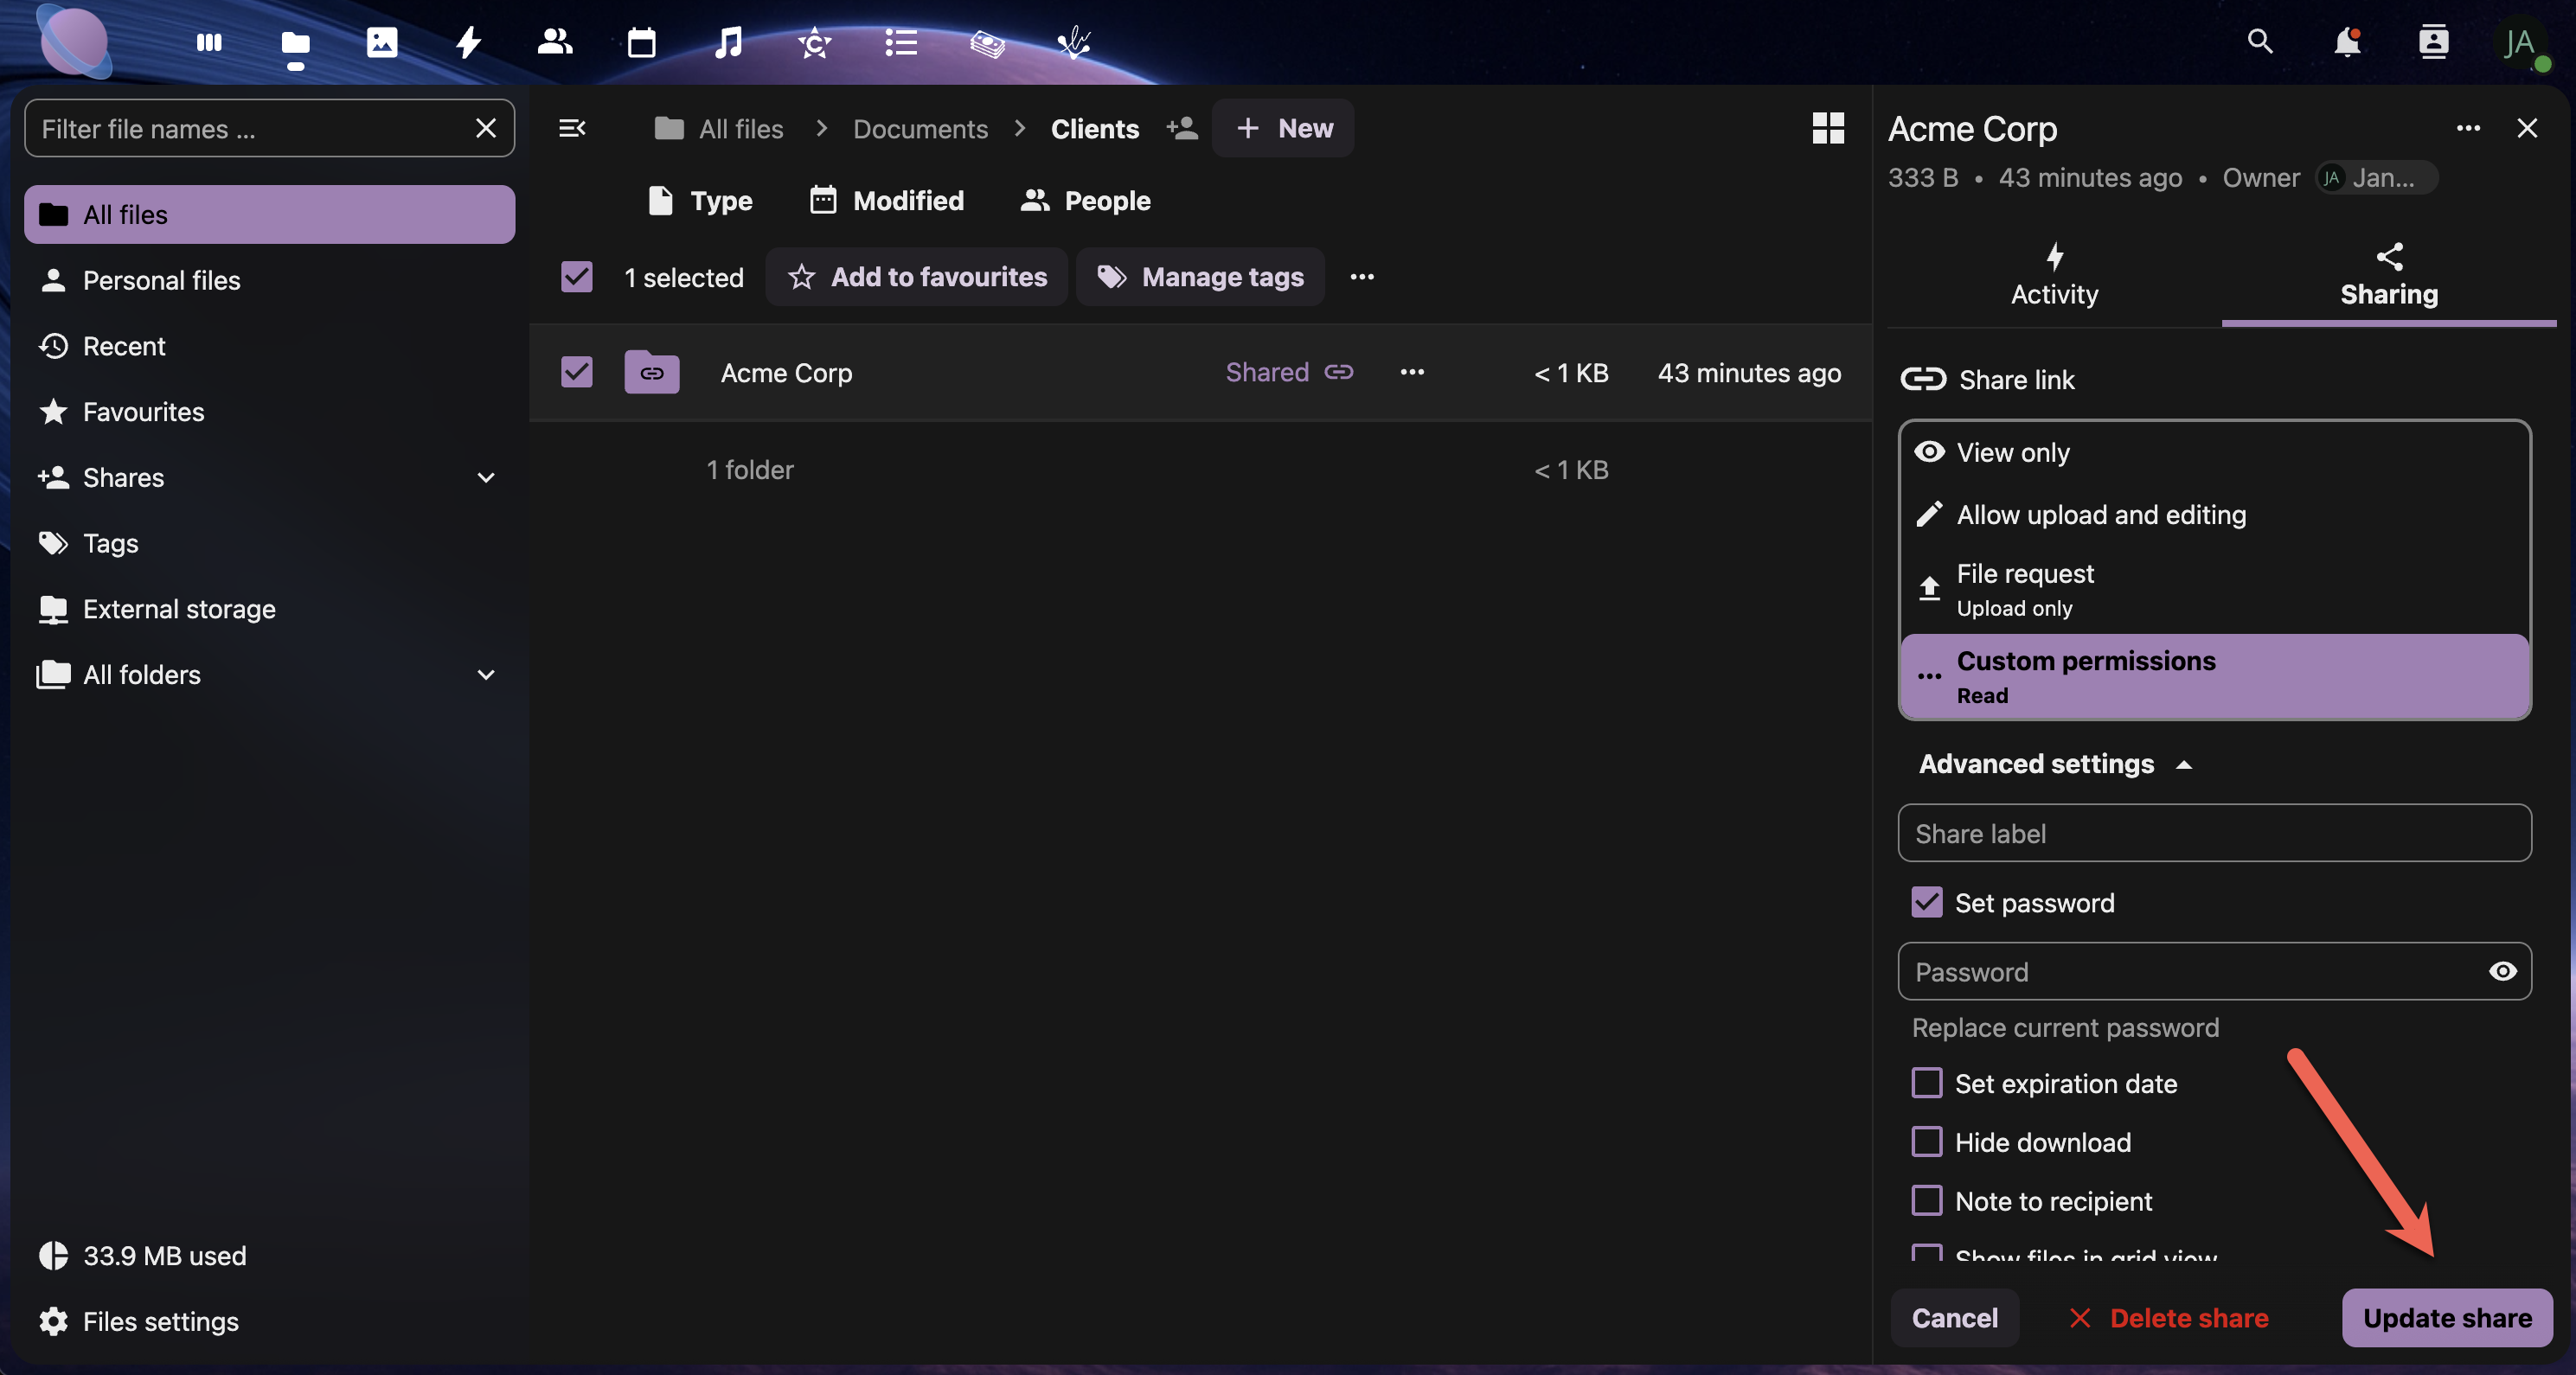
A public link can be generated with specific permissions.
Next, select which options should be allowed with the public link. These options are explained in detail <here>
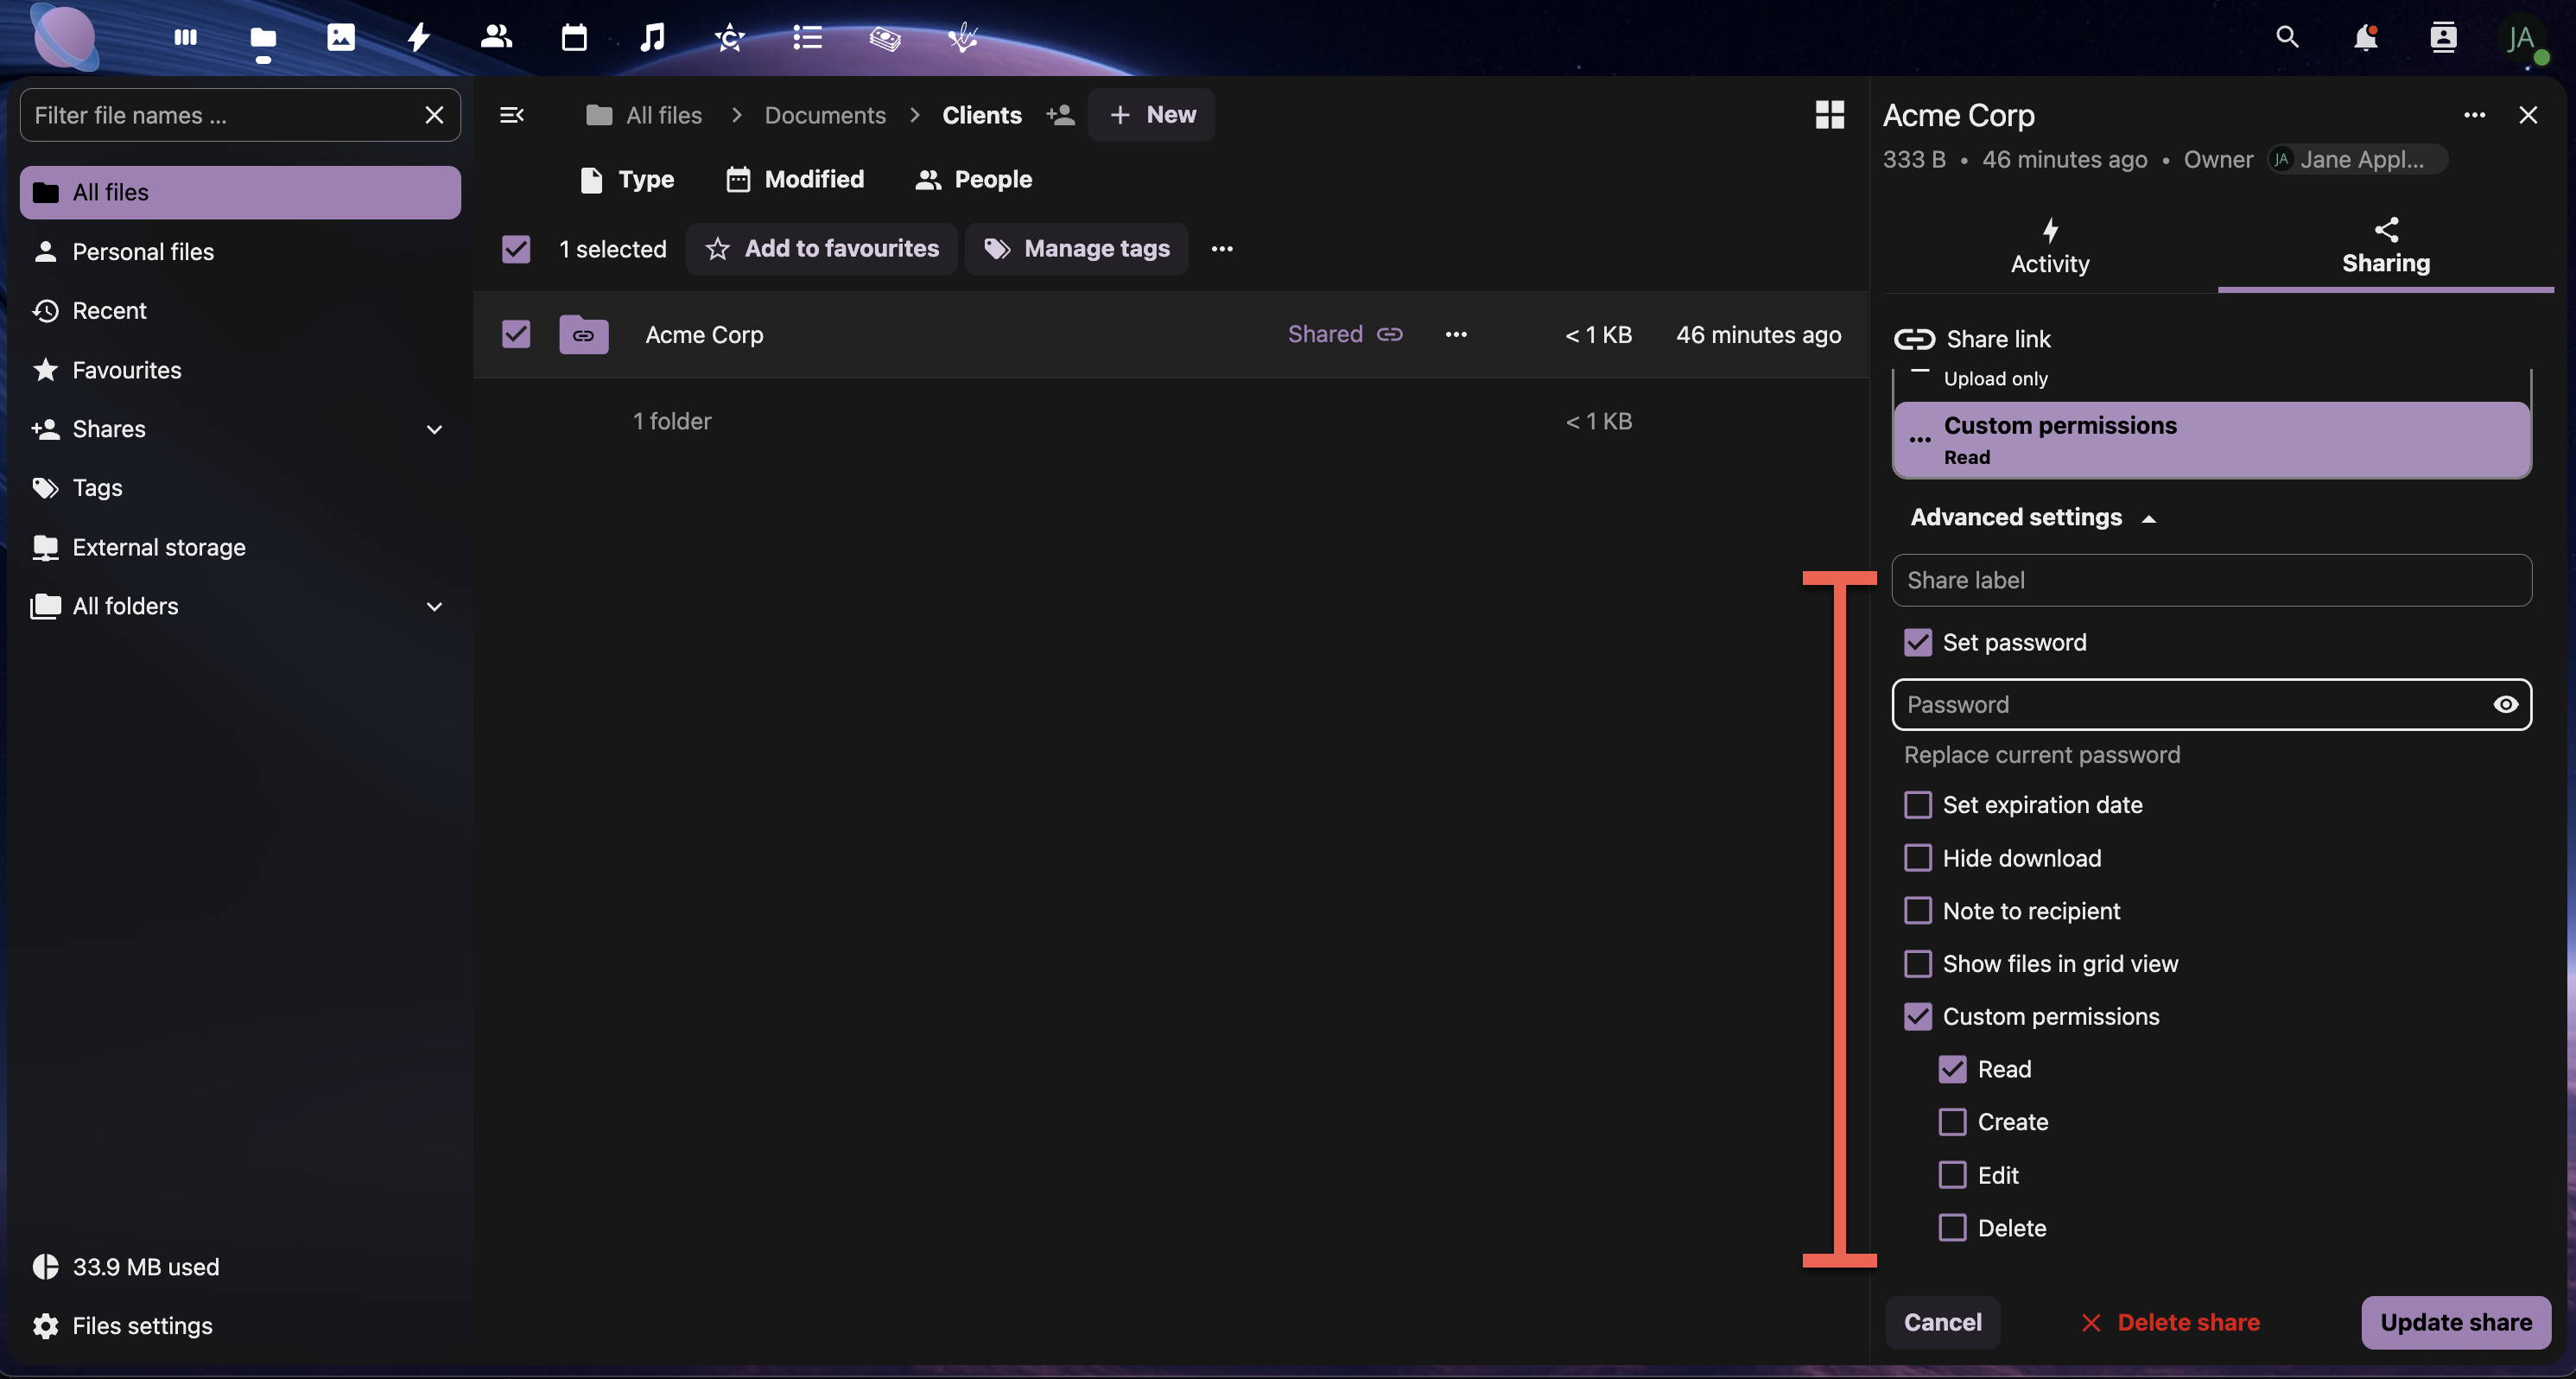
Once complete, select Update share.
Option B: Direct Client Access
- Create a client-specific folder (e.g., "ACME-Client-Portal")
- Share via email directly from NextCloud
- Set appropriate permissions (typically view-only)
- Include a welcome message explaining how to use the shared space
Client Folder Best Practices:
- Organise by project phase: Planning → Design → Development → Final
- Include a README file with instructions and contact information
- Use clear, professional folder names that clients will understand
- Regularly clean up old or irrelevant files
[Screenshot: Well-organised client folder with clear structure and README file]
Step 4: Permission Management
Set appropriate permissions for different collaboration scenarios:
Permission Levels in NextCloud v31:
Read (View):
- View files and folders
- Download content
- Use for: Final deliverables, reference materials
Write (Edit):
- All read permissions plus
- Upload files
- Edit existing files
- Use for: Active collaboration, shared workspaces
- All write permissions plus
- Share with other users
- Change permissions
- Use for: Project managers, team leads
Delete:
[Screenshot: Permission settings interface showing different access levels]
Step 5: Collaborative File Editing
Set up workflows for real-time collaboration on documents:
For Office Documents:
- Enable collaborative editing in your NextCloud apps
- Share documents with edit permissions
- Use version comments when saving significant changes
- Establish editing protocols (who edits when, how to handle conflicts)
For Design Files:
[Screenshot: Collaborative editing interface showing multiple users working on same document]
Step 6: Notification and Communication
Stay informed about shared file activity:
Setting Up Notifications:
- Go to Settings → Personal → Activity
- Configure notifications for:
- File changes in shared folders
- New comments (if comments app enabled)
- Share invitations and acceptances
- File uploads to your shared folders
Communication Protocols:
- Use file names to communicate status (DRAFT-, REVIEW-, FINAL-)
- Organise by urgency using folder prioritisation
- Send notification emails for important updates
- Schedule regular reviews of shared spaces
[Screenshot: Activity settings showing notification preferences]
Step 7: External Sharing Security
Implement security best practices for external collaboration:
Security Checklist:
✅ Always use passwords for external links ✅ Set expiration dates on temporary shares ✅ Review permissions regularly and remove unnecessary access ✅ Use view-only permissions unless editing is required ✅ Monitor sharing activity through the activity feed ✅ Create separate folders for different external parties
Advanced Security Options:
- IP restrictions (if available in your NextCloud setup)
- Two-factor authentication requirements for shared access
- Watermarking for sensitive documents (premium feature)
- Audit trails for compliance requirements
[Screenshot: Security settings for external shares showing password and expiration options]
Step 8: Workflow Templates
Create reusable sharing workflows for common scenarios:
Project Kickoff Template:
- Create project folder with standard substructure
- Share with internal team (edit permissions)
- Create client portal folder (view permissions)
- Set up progress tracking folder for milestones
- Document sharing protocols in project README
Client Delivery Template:
- Organise final deliverables in clear folder structure
- Create shareable link with password protection
- Include delivery documentation and usage instructions
- Set appropriate expiration (typically 30-90 days)
- Archive project files after successful delivery
[Screenshot: Template folder structures for different workflow types]
Collaboration Workflow Examples
Marketing Campaign Workflow:
Campaign-Q4-Launch/
├── 01-Strategy/ (Team: Edit, Client: View)
├── 02-Creative/ (Designers: Edit, Others: View)
├── 03-Approval/ (Client: Edit for feedback)
└── 04-Final/ (All: View only)
Website Development Workflow:
Website-Project/
├── Discovery/ (Team + Client: Edit)
├── Design/ (Designers: Edit, Client: View + Comment)
├── Development/ (Developers: Edit, Client: View)
└── Launch/ (All: View, Client: Download)
Best Practices Summary
✅ Organisation:
- Use consistent folder structures across all shared projects
- Apply your tagging system to shared content
- Create clear README files for external collaborators
- Maintain separate spaces for different types of collaboration
✅ Security:
- Always password-protect external shares
- Set appropriate expiration dates
- Review and audit permissions regularly
- Use the minimum permissions necessary for each role
✅ Communication:
- Establish clear workflows and protocols
- Use descriptive file names to communicate status
- Set up relevant notifications for team members
- Document your sharing protocols for team consistency
Next Steps
With your sharing and collaboration workflows established, you're ready to learn about advanced features like automation, backup strategies, and mobile workflows. The next chapter will cover these power-user features to maximise your Junovy Cloud Storage efficiency.